We had talked about building a second wine cellar for years, but unlike our first cellar, this one would cost significantly more than the first and involve a considerable amount of work and time to build. The accountant finally broke down and agreed to let us build it. We got bids from multiple builders, but very few people have basements in this part of the country and thus have little idea of how to set about building one. We read detailed books on how to build basements and ended up using our trusty and skilled contractor since he was the only person confident enough to give it a try. The cellar itself was only a part, albeit a large part, of a large renovation. Other updates included wood floors and base moulding throughout much of the first floor, new texture and paint in most of the rooms, granite countertops in a few of the bathrooms, and new iron doors.
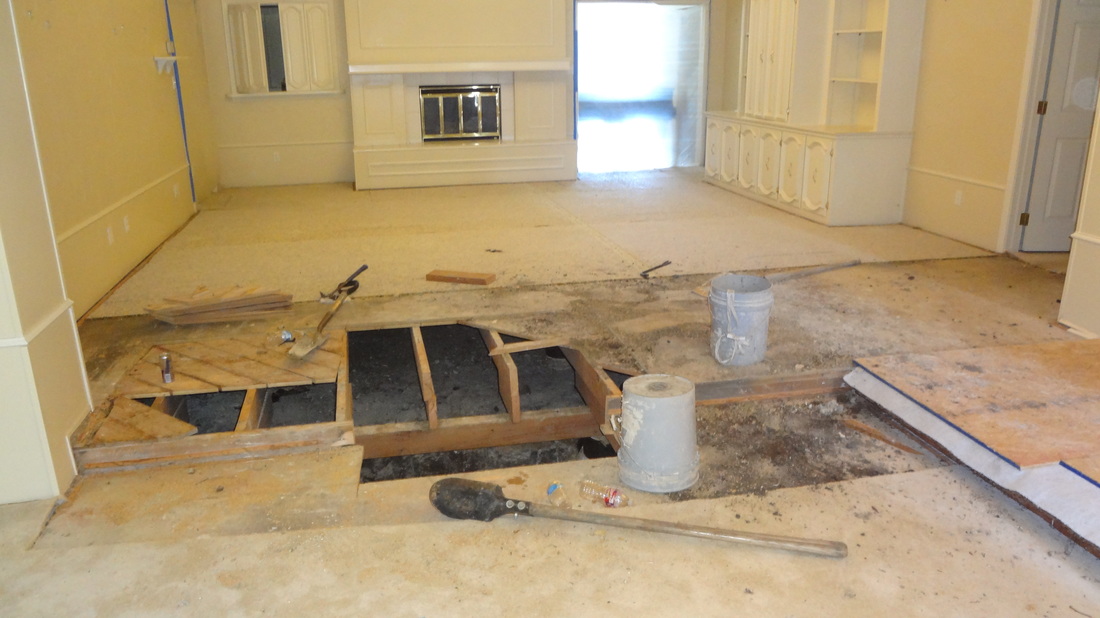
The first step was to move all of the furniture to one side of the house. We planned to install the wood floors in two parts (e.g. to complete one side then move the furniture and complete the other side), but first we had to complete the structure of the cellar before we could start on the other renovations. We removed a few of the floorboards in the living room and workers started digging the cellar by hand using only shovels and buckets. The digging was done by just 2 workers for the majority of the time and was completed in just 2 and a half weeks.
The first step was to move all of the furniture to one side of the house. We planned to install the wood floors in two parts (e.g. to complete one side then move the furniture and complete the other side), but first we had to complete the structure of the cellar before we could start on the other renovations. We removed a few of the floorboards in the living room and workers started digging the cellar by hand using only shovels and buckets. The digging was done by just 2 workers for the majority of the time and was completed in just 2 and a half weeks.
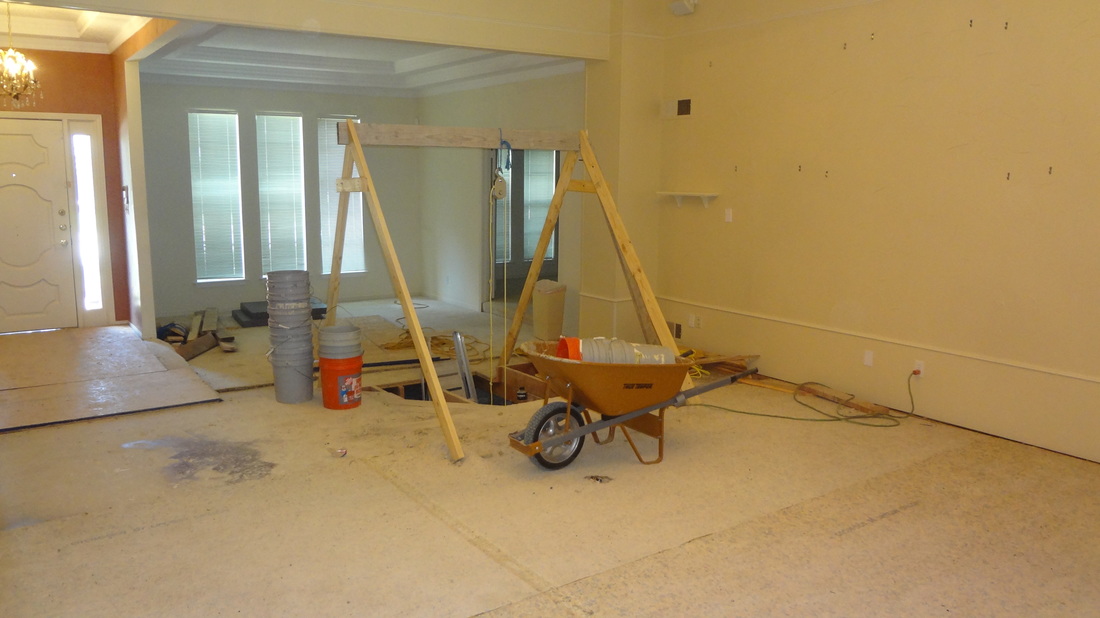
Eventually they had dug deep enough to where they had to employ a pulley system to bring up the buckets. 2-3 trailers full of dirt were removed each day.
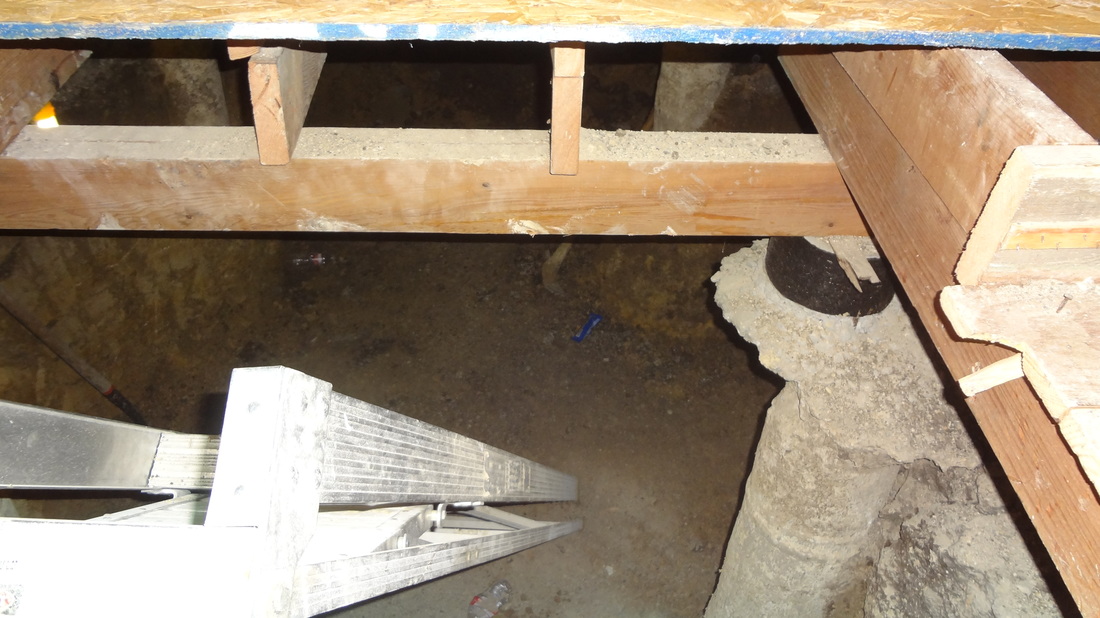
A total of 4 concrete piers were removed. We were fortunate that this was right below our living room and that we would not be digging under any walls that would be load bearing. There also happened to be no gas or plumbing pipes which would have had to be moved.
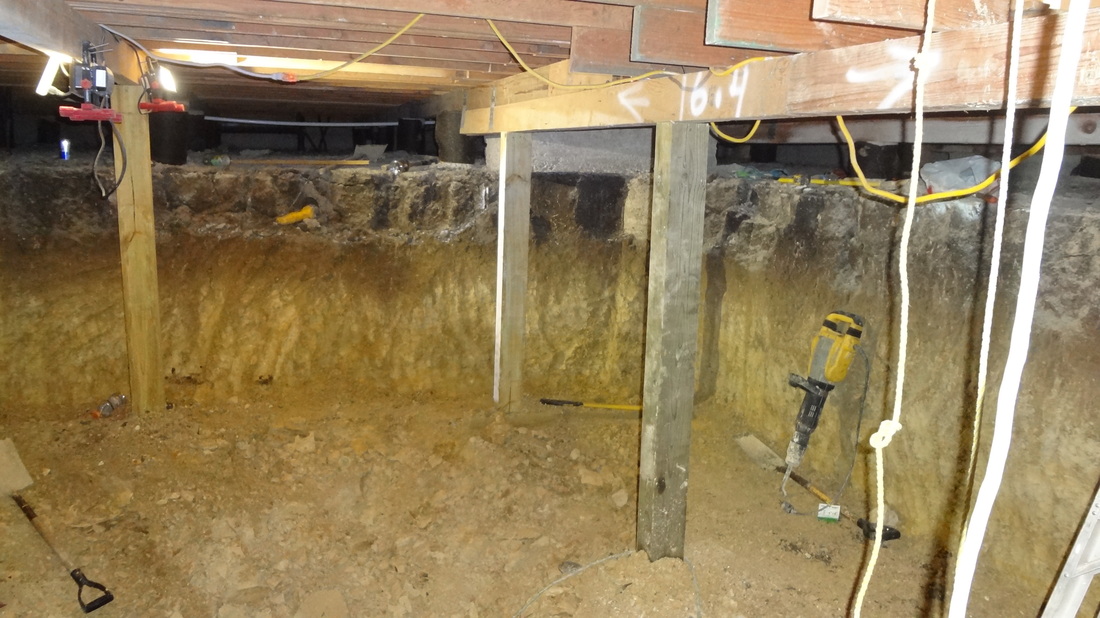
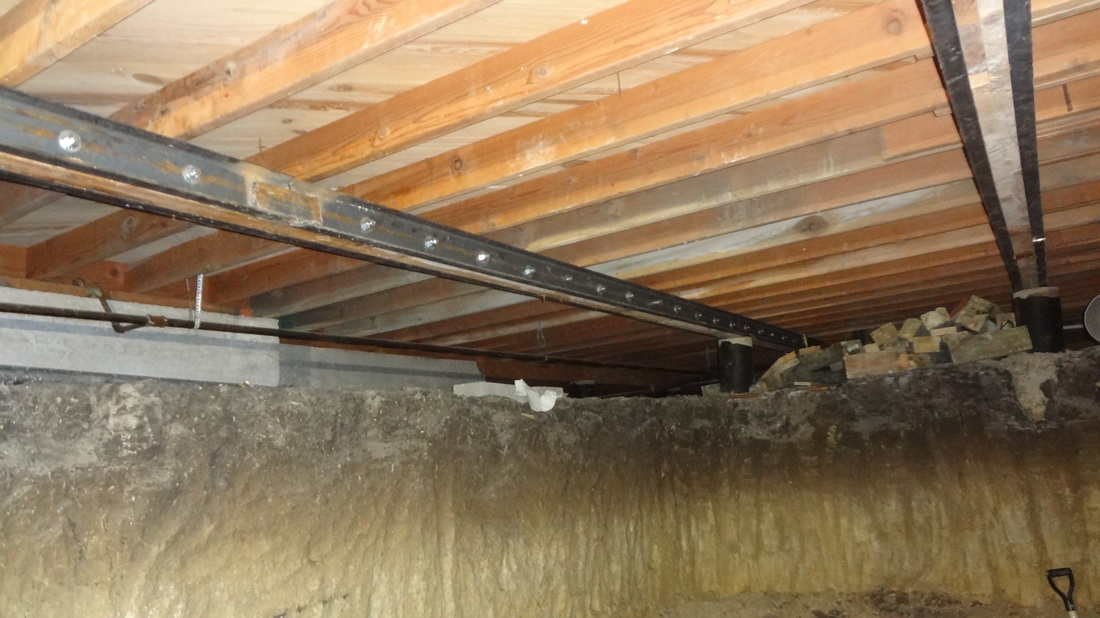
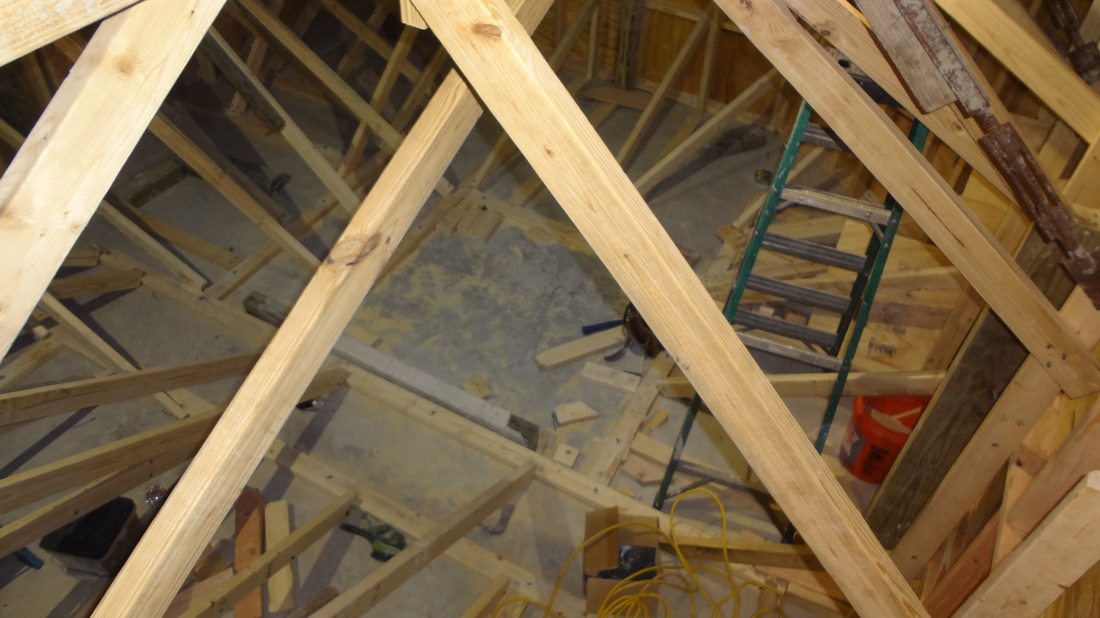
Temporary wood beams were added for support and to remove the concrete piers. Up to this point the workers were able to remove most of the dirt easily, but the last 2 or 3 feet was a tougher clay which required a small jackhammer to break up.
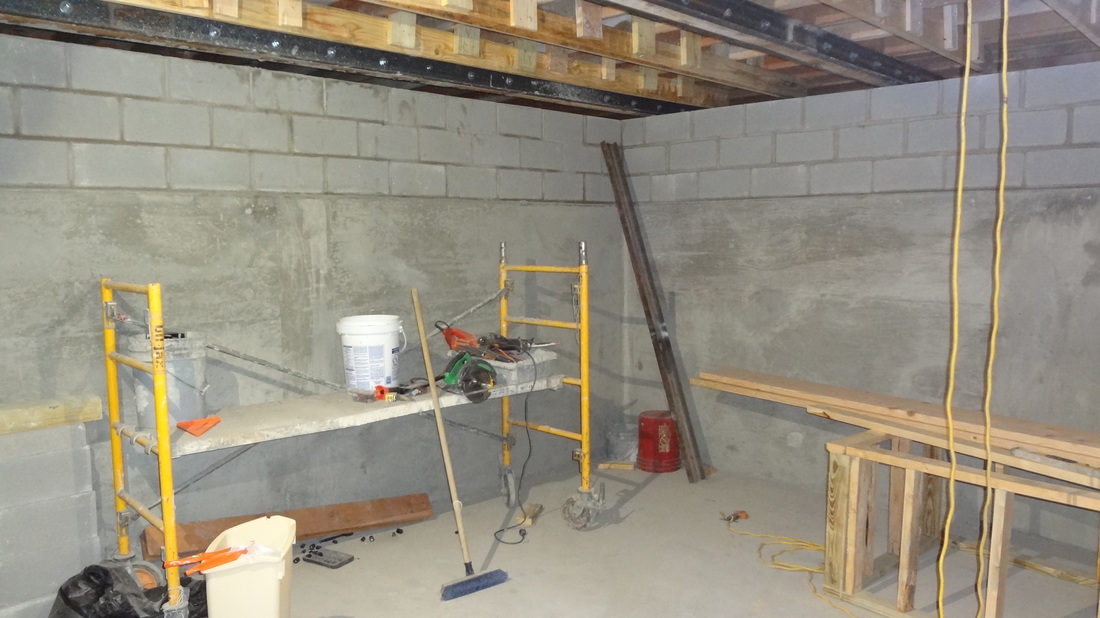
Steel I-beams were added to each side of the 2 beams which are located above the cellar. There are large screws going through the beam in order to secure the I-beams to the wood beams. You will notice a steel plate welded to the steel beam; this is done to attach multiple steel beams together and subsequently transfer the load across the entire beam. Adding the beams allowed us to completely remove the piers.
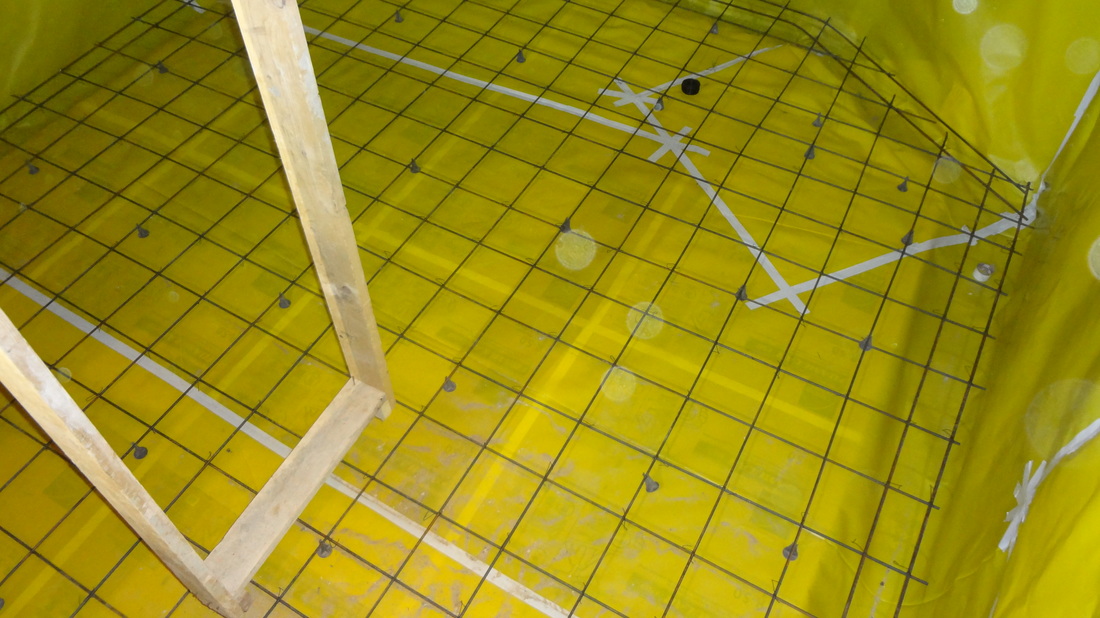
After the digging was complete, the walls and floor were covered with a vapor barrier. Without this barrier it is possible for moisture to be absorbed through the concrete. Rebar was laid out in preparation for the concrete slab.
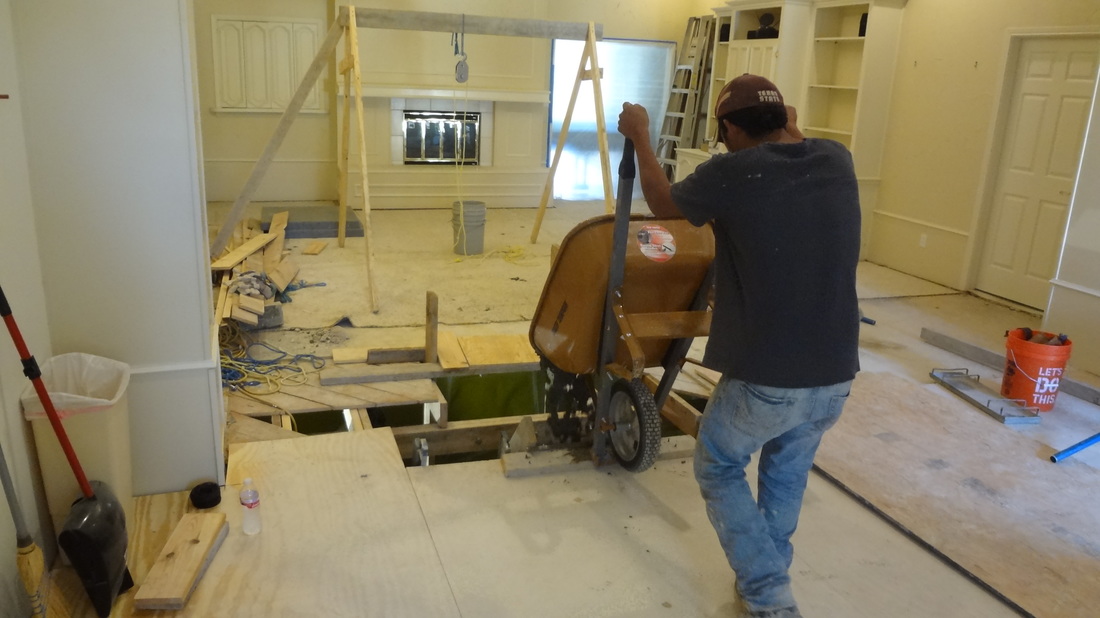
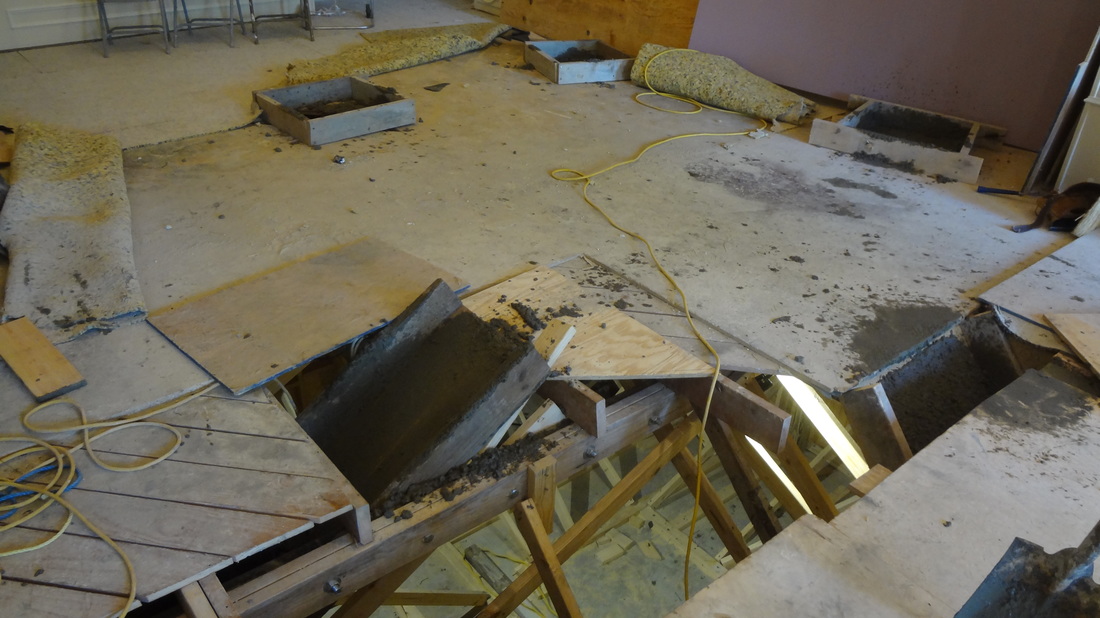
A wooden slide was built to pour the concrete. Workers poured concrete down this slide using wheelbarrows in a seemingly endless loop from the truck to the slide.
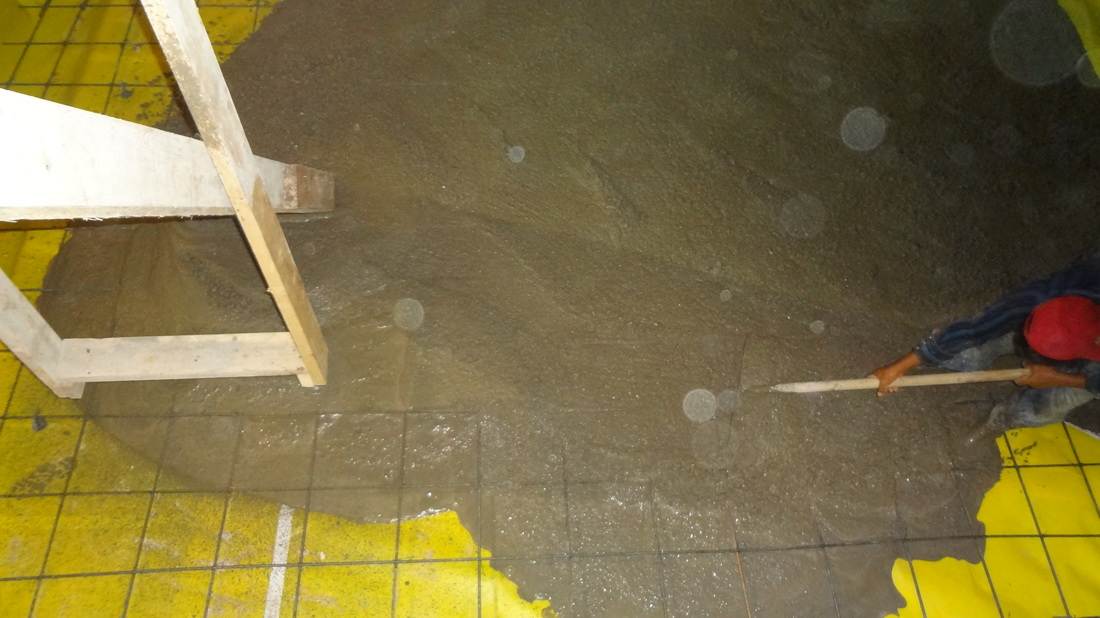
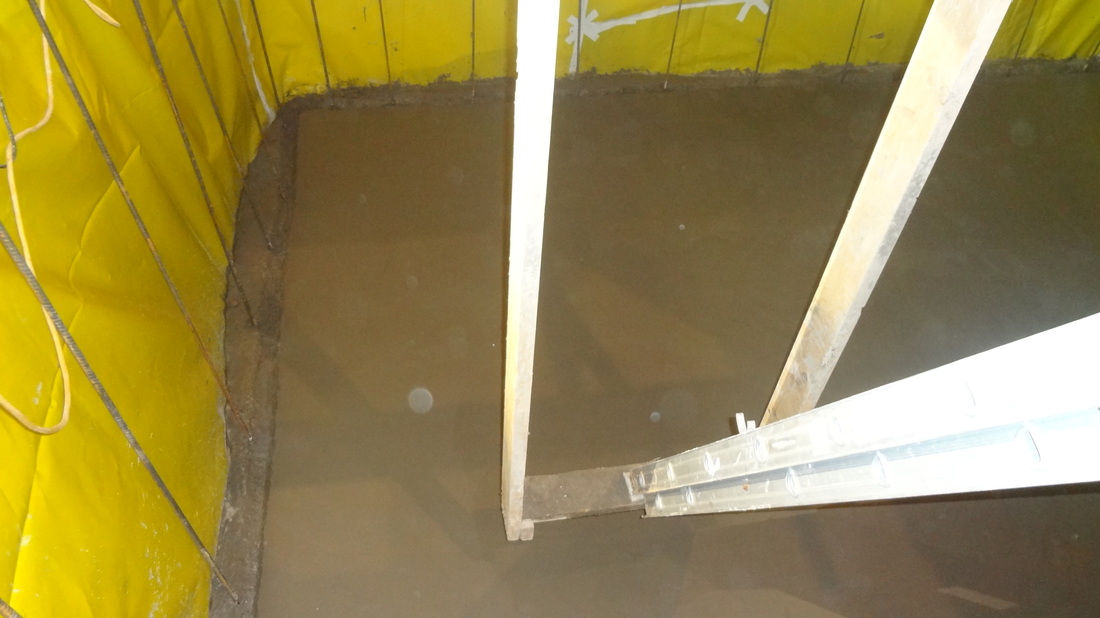
Workers used rakes to spread the concrete evenly and later smoothed out the floor.
A trench was dug for the walls and rebar was placed into the concrete before it could dry. The concave trench allows the 2 pieces to adhere better than had it been flat (think of a puzzle piece).
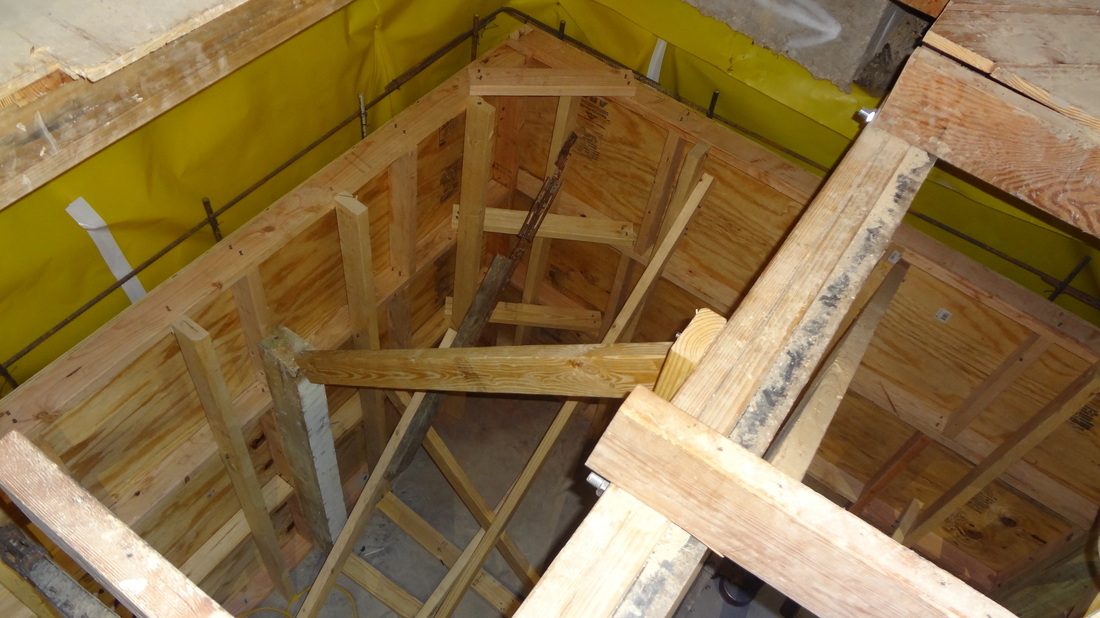
After allowing the concrete to fully cure, it was time to pour the walls. Additional cross sections of rebar was added to the wall sections then wood forms were built to hold the concrete.
A total of 5 slides were built to pour the concrete for the walls.
Cinder blocks were used for the top of the walls which were above ground level.
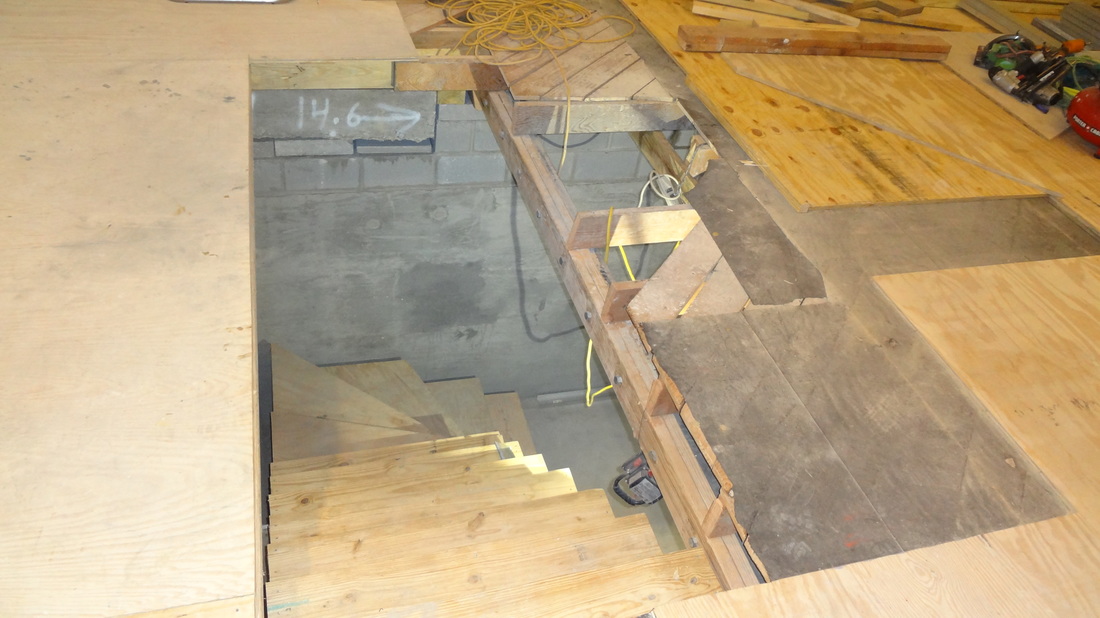
The stairs proved to be rather difficult and even caused one worker to walk off of the job. But they were finally completed despite all those tricky angles and math.
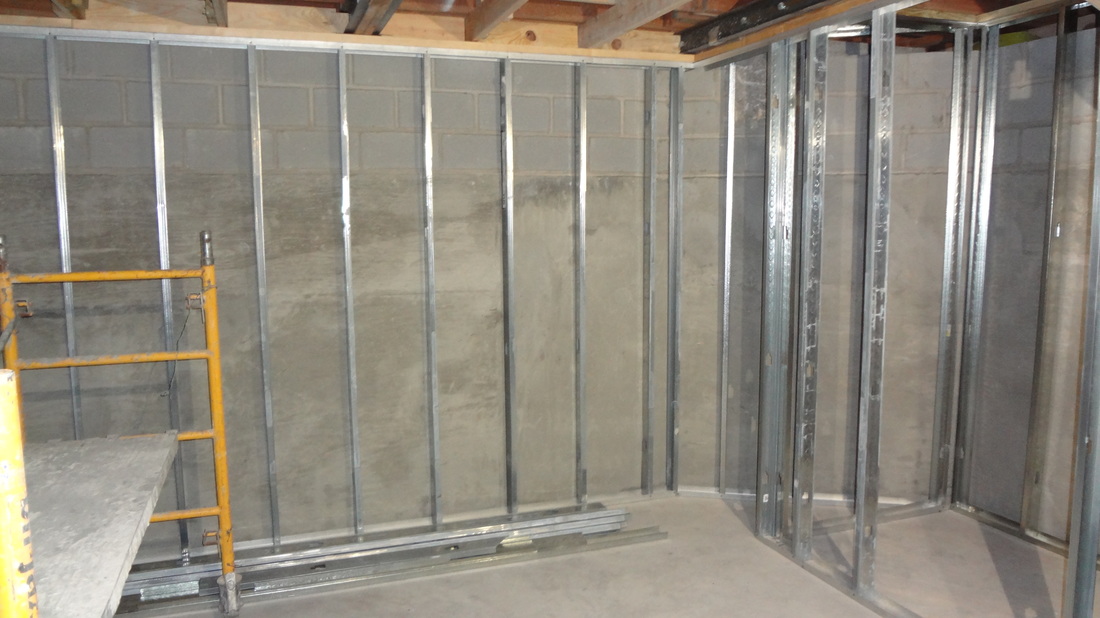
Next the walls were framed using metal framing.
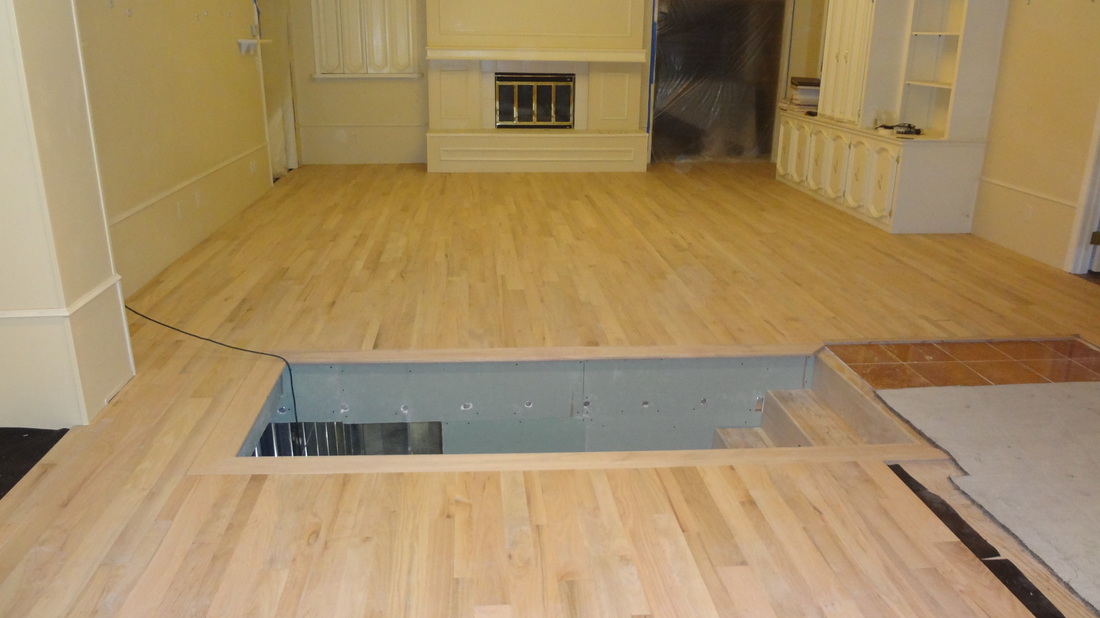
By this time we were finally able to begin the other renovations. The front room (located in the foreground of the picture below) was sunken so we had them take the step out and level the floor. The entrance to the cellar was placed between this front room and the living room. We were able to match and add 2 more rows of the red marble on the right to the pre-existing entryway tile.
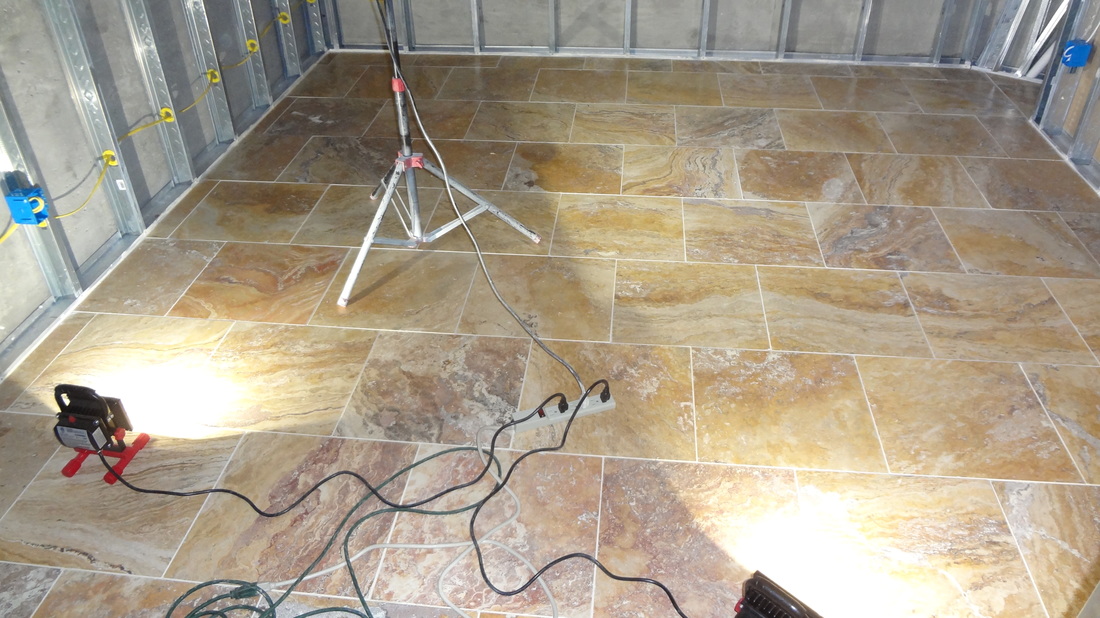
Meanwhile, down in the cellar, the travertine floor was laid.
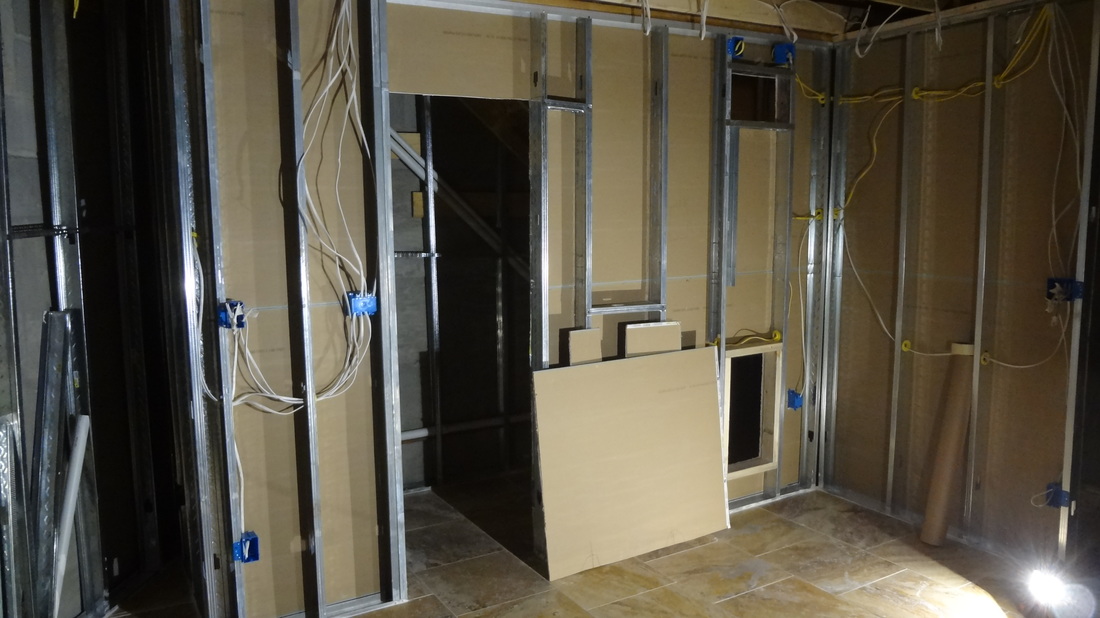
All of the electrical work and plumbing had to be completed before the walls could be sprayed with closed cell foam insulation.
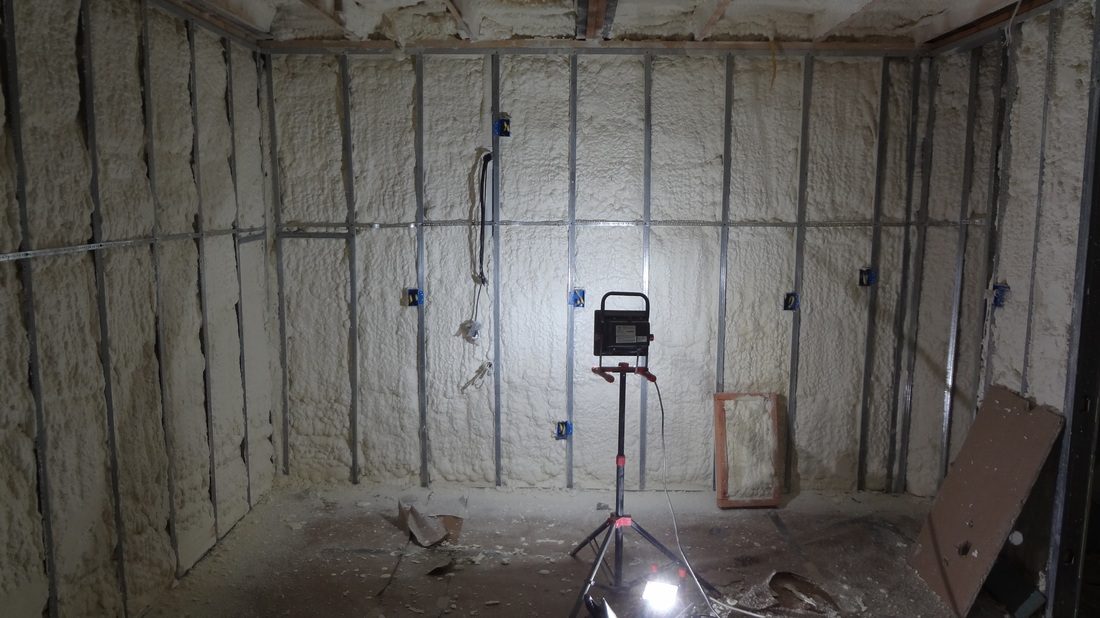
All of walls and the ceiling were sprayed with closed cell foam to ensure that the cellar is properly insulated. The closed cell foam is extremely hard once it dries so we had our fingers crossed that all of the wiring worked properly.
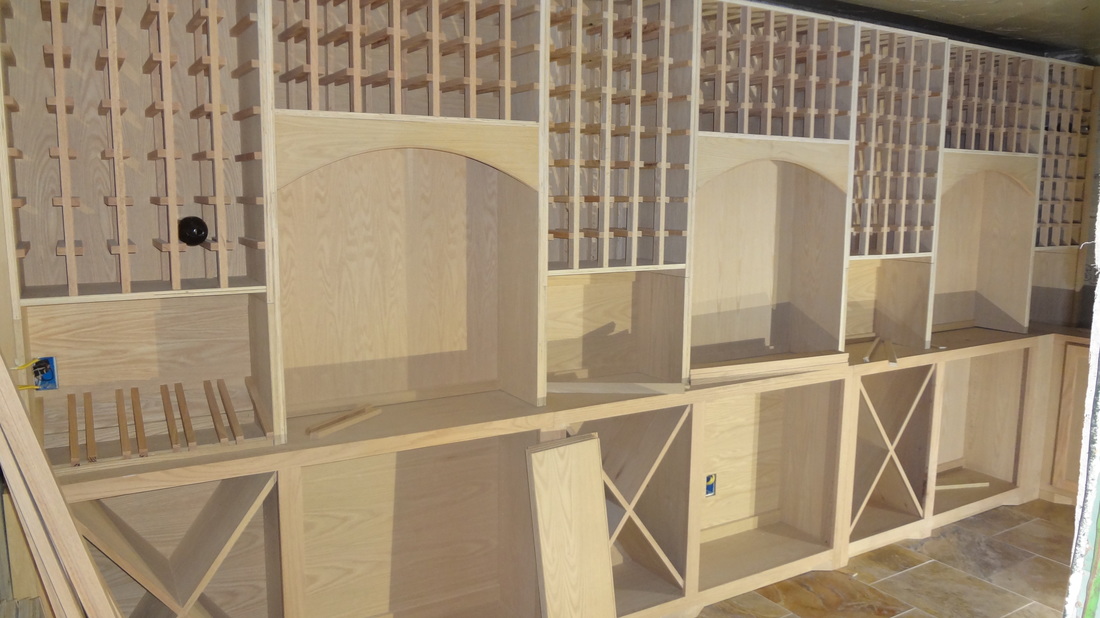
The wine racks were custom made.
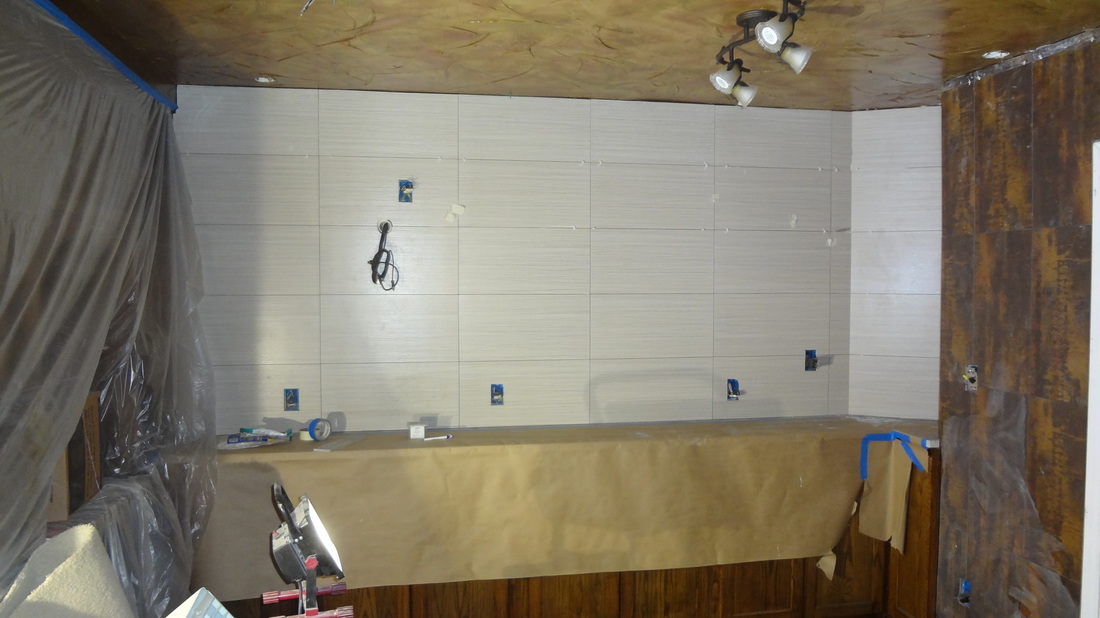
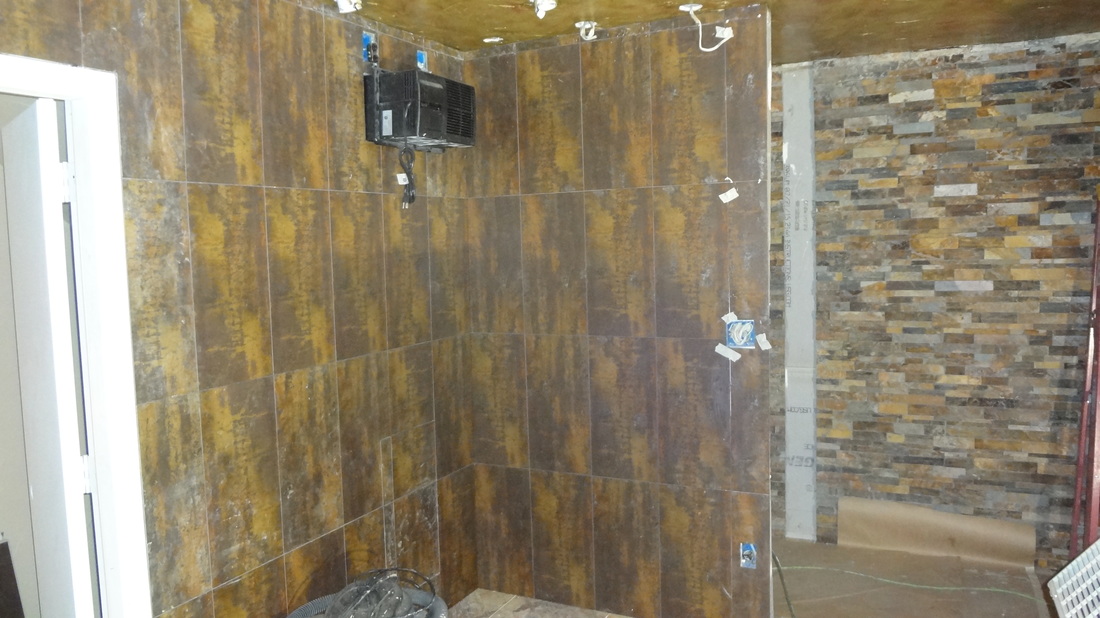
The ceiling gets textured and painted, the wine racks get stained, the tile walls are laid and the light fixtures start to be installed.
The slate ledger wall is installed leaving space for the iron door.
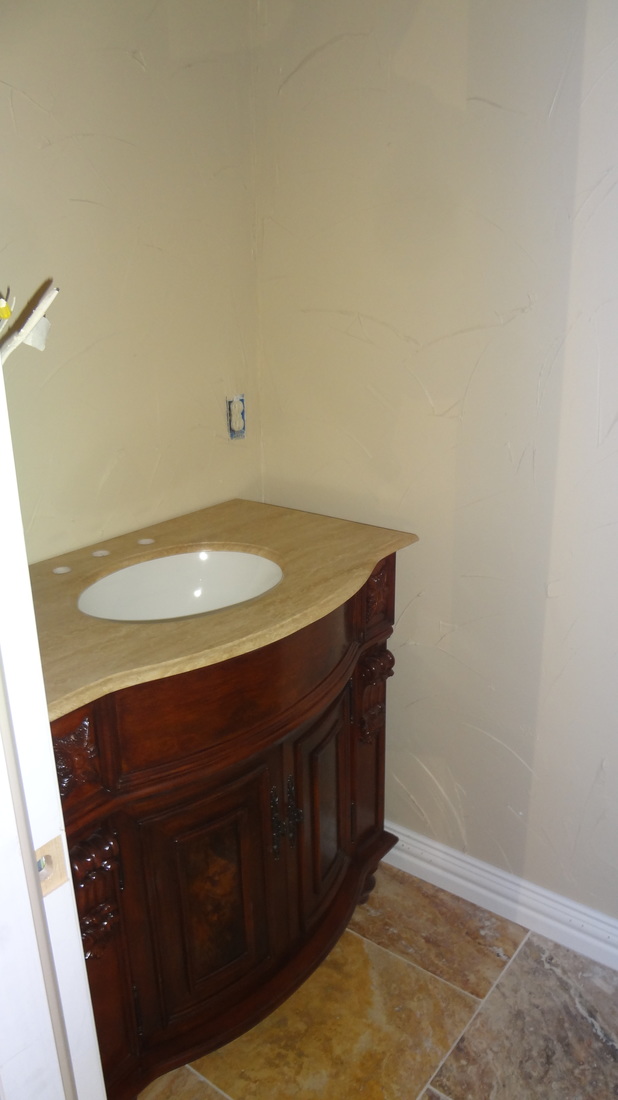
The bathroom fixtures are installed including an upflow toilet designed for basements.
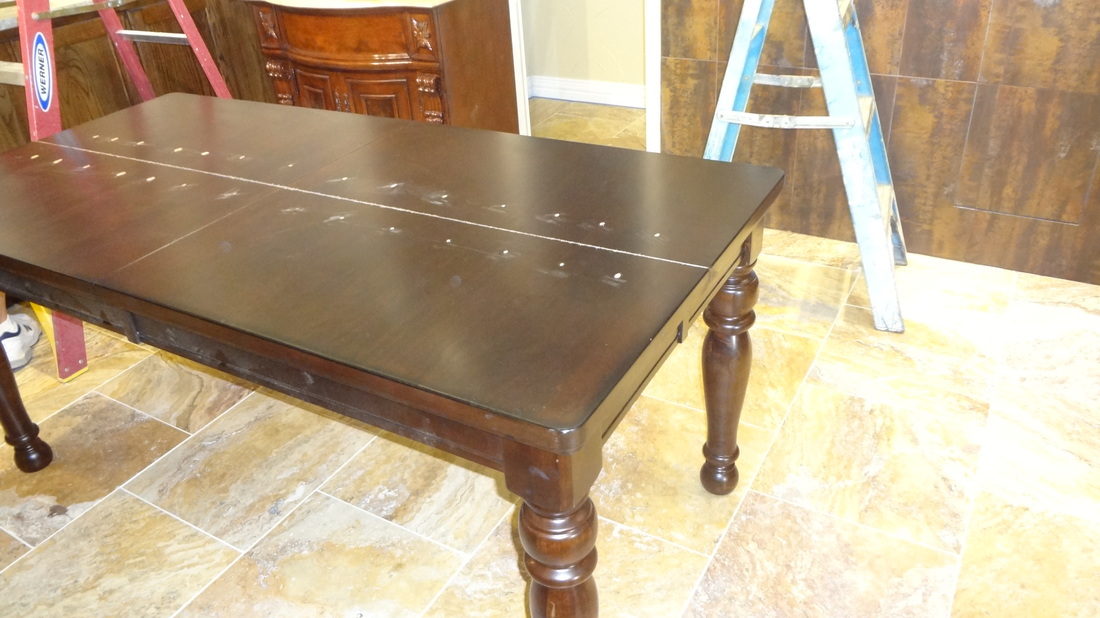
We wanted this space to have a large enough table to fit 8 people for dinners. We eventually ended up finding a "scratch and dent" table that worked perfectly (nothing wrong with a scratch on the top if you're planning on putting granite on top). Well almost perfectly; we did have to cut out about 6 inches from the middle to make it narrower
That's basically it for the cellar. Some other finishing steps were completed (e.g. installing the granite, the metal wine racks, the iron door, tv, etc.).
